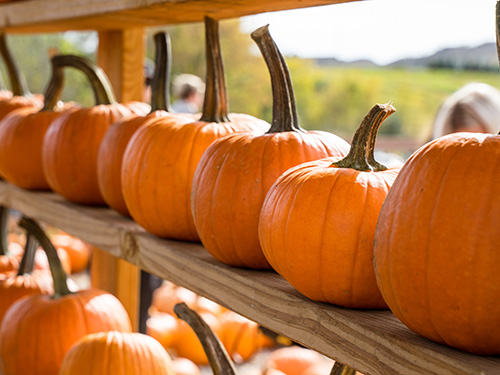
Pumpkin season is in full swing! Whether you’re sipping on pumpkin spice lattes, indulging in homemade pumpkin rolls, or using them to bring some autumn charm to your front porch, pumpkins are a popular produce this time of year.
Just like any other type of fruit, though, pumpkins will quickly start to rot if not properly cared for. Especially as the warm weather continues to linger, preserving your pumpkins might be a bit more challenging. Whether you’re leaving them uncarved or getting creative with some spooky carvings, here’s how to make sure they last as long as possible.
Preserving Uncarved Pumpkins
- Clean your pumpkin
Pumpkins naturally come with dirt and bacteria, so giving them a thorough clean is essential to avoid early rotting. Be gentle to prevent any cuts or scrapes on your pumpkin that could invite mold. For your cleaning solution, use either a bleach mixture of one part bleach to ten parts water, a vinegar solution of one part vinegar to three parts water, or water with dish soap. Allow the pumpkin to soak for 30 minutes.
- Dry your pumpkin
After cleaning your pumpkin, rinse one more time and then let it dry completely. Moisture is the enemy and can lead to rot if left unchecked.
- Seal the exterior
To keep your pumpkin fresh for longer and protect it from moisture, you’ll want to seal the exterior. You can spray it with a matte sealer or acrylic finish, apply acrylic liquid floor cleaner or floor wax, or rub the surface with petroleum jelly.
- Keep it cool
Pumpkins don’t fare well in direct sunlight or rain, so find a shady spot to display them. On particularly hot days, consider bringing them inside to enjoy the cool air conditioning.
Preserving Carved Pumpkins
- Cut from the bottom or back
Even with the best care, once you carve your pumpkin, it will typically only last a week. However, you can help extend its life by changing up a traditional carving technique. Instead of cutting the top, try cutting the bottom or back of your pumpkin. Pumpkins often rot from the top down, so this can help keep it from rotting so quickly.
- Remove the guts and dry the inside
After scooping out all the seeds and fibers, use a large spoon to scrape the insides as clean as possible. Dry the inside thoroughly with paper towels or even stuff the pumpkin with newspaper to absorb moisture.
- Give it a bath
To keep your carved pumpkin looking perky for longer, soak it in a bucket filled with one tablespoon of bleach for every gallon of water. Completely submerge the pumpkin for at least one to three hours, drain the water from the inside, and then let it dry. If it starts looking wilted again, just repeat the process!
- Keep it fresh
Once your pumpkin is dry, preserve its freshness by spraying it daily with a bleach solution or rubbing the carved areas with petroleum jelly. If you notice your pumpkin sagging, let it soak overnight in cold water to revive it.
With a little care and attention, you can keep your pumpkins looking fresh and festive all season long. Whether they’re part of your décor or carved into spooky faces, these tips will help ensure your pumpkins last as long as possible. Many of your local Co-ops carry pumpkins, as well as other fall decorations and tools to make the most of the season, so be sure to stop by!
Find the nearest location
here. For more content like this, check out the latest issue of
The Cooperator.